
WordPress is the system I recommend you use to design and manage your site (or blog). It's a very popular completely-online system that lets you easily build a professional-looking website/blog without any technical know-how.
There is no additional cost to use WordPress.
Once you've signed up for web hosting, setting up WordPress on (host)'s web hosting is very easy. Full instructions are in Step 5 (Start Making Your Site).
In WordPress, all you need to do is type in the text of your pages, and (if you like) add some pictures. WordPress will create the pages, apply your site's layout to them, and add a link to each one from the menu bar. If your site is a blog, you can easily make new posts. WordPress will add them to the top of the blog page for you, and manage visitor comments (if you allow comments.)
In WordPress, you don't design a layout. You just choose one. You can't edit these layouts, but you can very easily change major features, like the background colour and header picture. This makes things very easy.
WordPress operates from the Internet, through your browser. Because of this, it works on any computer (PC, Mac, etc) or device (smart phones, iPhone, iPad etc.) with Internet access. If you can browse the Internet, you can use WordPress.

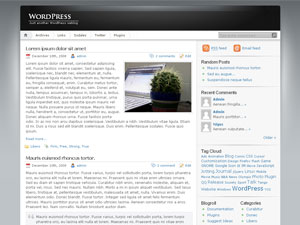
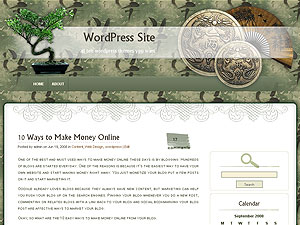
This is a screenshot of a typical WordPress website, using the default graphical theme. It's very simple and professional.
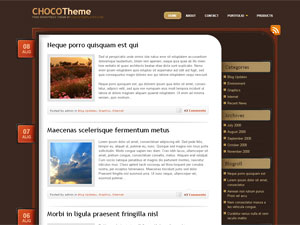
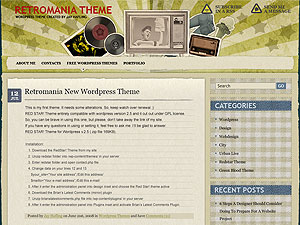
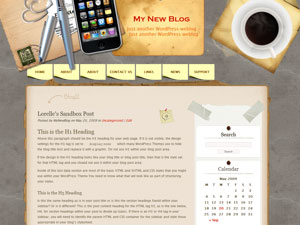
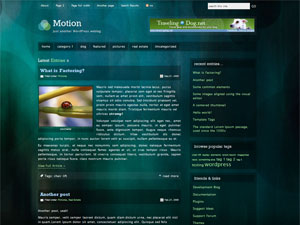
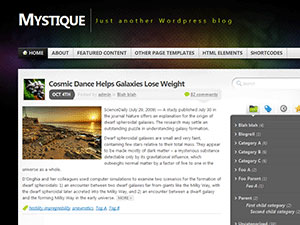
You can very easily choose a much fancier theme if you like, and change themes at any time. There are thousands of themes to choose from.

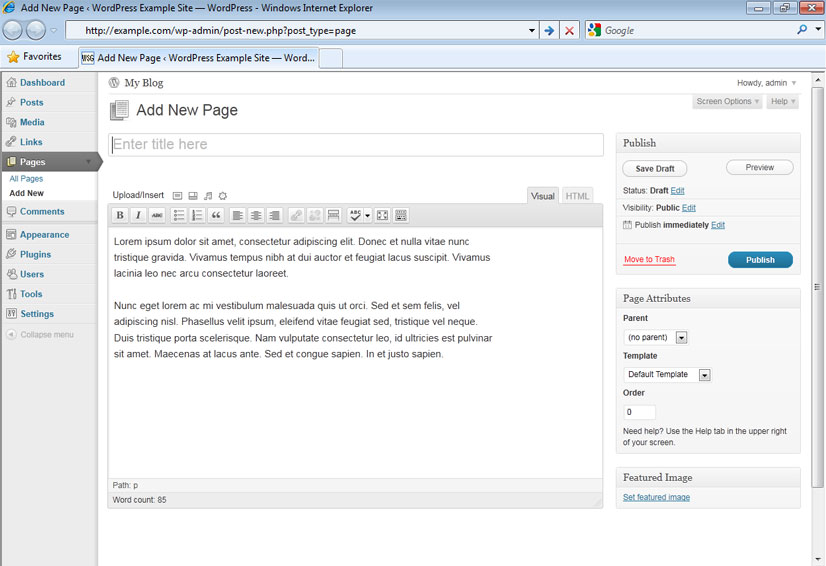
This is a screenshot of WordPress's Control Panel. You get here by clicking a little "log in" link that will be on your site, and then typing in a password.
Everything in WordPress is done from this Control Panel. At the left is a list of all the settings you can change, and things you can do. It's all very simple.
You've now read through the important steps of making a website. However, there are lots more important things you probably want to know about, before you start work on your site.